

FOLLOW THE NEW BLOG AT Being-Bianca.com for more crafts, recipes, decor, parties and FUN!
After picking up a few balloons for the photo shoot with Baby B, I realized helium balloons weren't going to cut it for this fete. Not only do the stores near me charge OVER A DOLLAR per balloon for helium filled balloons but those pricey party makers don't last too long in the Georgia heat and humidity. The balloons were only perky for a few hours; I knew there had to be a better way.

The answer required some dollar store balloons and a few supplies from my fave Home Depot. With a little Maguiver style skills, the balloon topiary was born!
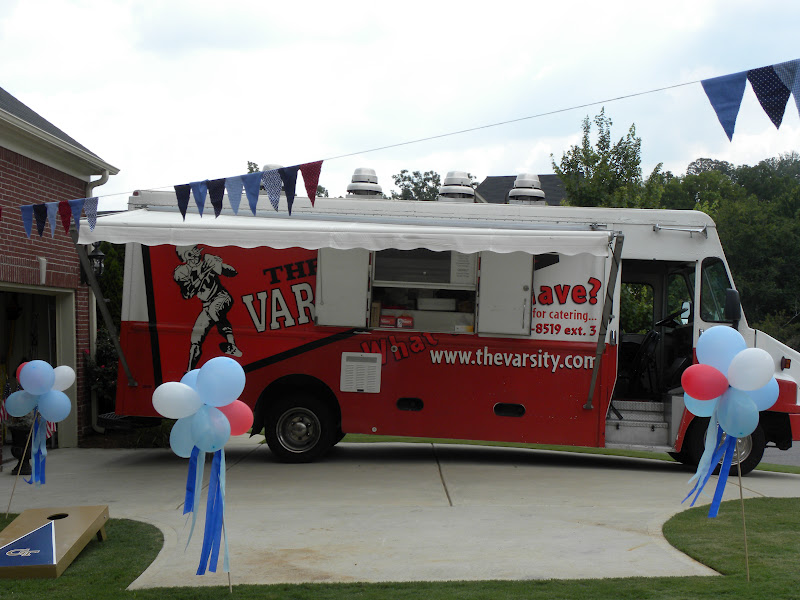
These balloon topiaries outlined the lawn and were placed in a few decorative spots to add a punch of color and fun. I also made smaller topiaries and used them on the sweets tablescape. They really did round out the space well.
Here's how I did it.
First, you need a few simple supplies:
- Balloons
- Twine
- Long dowels - available at craft stores or home improvement stores
- Painters tape
1. You will need a bunch of balloons, so start puffing! Luckily, I enlisted the help of the fam and we zipped right through this step. For each large topiary, you need about 6-8 balloons depending on size. Be sure to make a few extras just in case you have a pop! The shadowy figure in the pic below is Baby B apparently flexing his little muscles as he played in the balloon patch!
.png)

2. Start by tying a piece of twine (about 1-2 feet long) around the base of a fully blown up balloon. A simple knot will do. Then, grab a second balloon and tie it to the first. Keep attaching and knotting. I tried wire, pipe cleaners and a series of other supplies. All were too rough for the delicate balloons. Note, if you have an extra set of hands this step is a breeze. For my topiaries, Dear Hub's dad; Pop Pop, was my assistant and we flew!
3. To attach the dowel, it works best to again have a helper. For this step, tie the two tails of the twine to the dowel. This attaches the balloon bundle to the stick. Then, we used painters tape to run around the knot area to secure it in place. Painters tape worked perfect because our balloos were mostly blue.
4. We finished them off with some paper streamers as ribbons and voila, complete!
Tips and Tricks:
For the table top version, I used very thin dowels and placed them in floral foam that filled my old paint cans. For the yard version, we used thicker dowels that were a few feet tall. To actually get these in the ground, we used a hammer and an extra dowel to make a hole in the ground and then simply added our cute topiary to the existing hole. Yes, Dear Hubs almost had a fit when I announced I was putting holes in his yard. But, in the spirit of the fete, he went along with the idea!


So y'all remember this trick next time your party calls for balloon overload! xoxo